News & Article

Category: Uncategorized

6 Mistakes That Shorten the Life of a New Awning

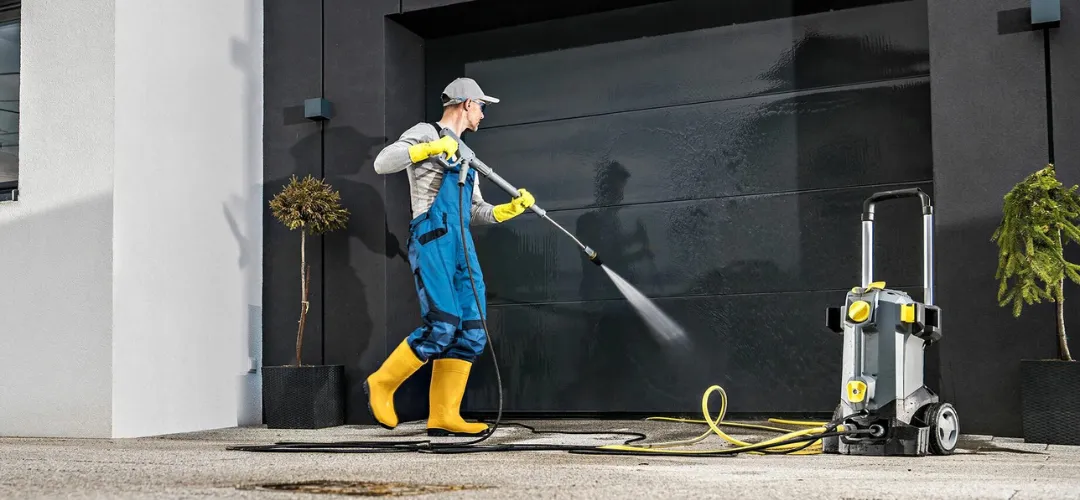
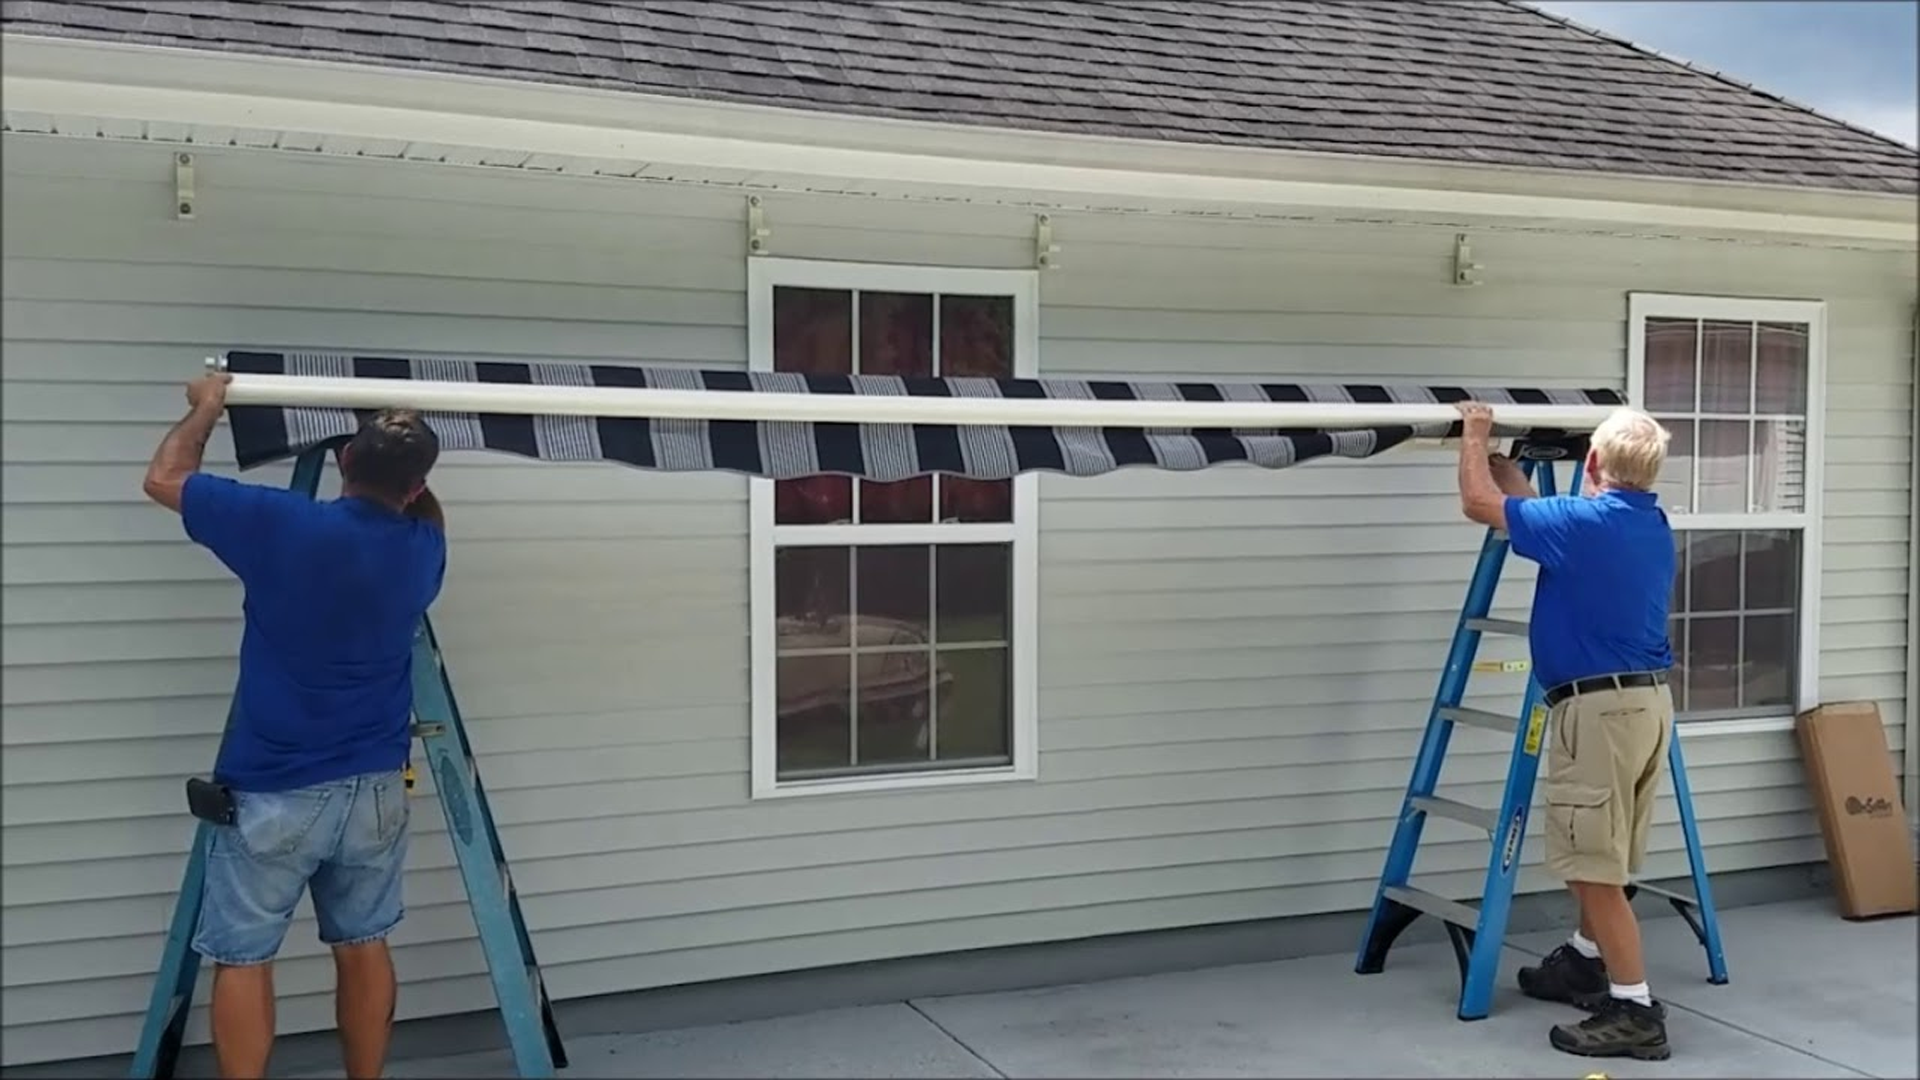
You finally install that beautiful shade over your patio, ready for perfect summer weekends. But a few seasons later, the fabric looks faded, the arms squeak, and you are staring at unexpected wear. You might find yourself asking yourself, “what is the lifespan of an awning?” The truth is, how long it survives depends entirely on your daily habits. So, how long should a new awning last? With proper care, a new awning can easily give you five to fifteen years of comfort. Here is the good news. Most premature failures have nothing to do with bad luck. They happen because of completely avoidable mistakes. Let us explore the six common blunders that quietly destroy your investment so you can protect your patio. What Actually Affects Awning Lifespan Before we dive into the mistakes that damage a new awning, let us talk about the baseline. You cannot just bolt a frame to your house and expect it to survive the next decade without knowing what it is up against. Several factors decide how long your shade stays functional before you even make a single mistake: Now that you know what builds a strong foundation, let us look at the habits that quietly tear it down. Mistake #1: Retracting a Wet Awning A sudden afternoon thunderstorm rolls in while you are enjoying a cold drink on the patio. Your first thought is to grab the remote and roll up the fabric to keep it safe from the heavy rain. It feels like the right thing to do at the right time. Actually, that is not how it works. When you roll up wet fabric, you are creating a dark and damp burrito attached to your house. All that trapped moisture has absolutely nowhere to go. Give it a few days in the summer heat, and you have just built a five star luxury resort for mold, mildew, and rot. When frustrated homeowners call and ask, “why does my awning wear out quickly,” this is almost always the silent culprit. The resulting awning wear and tear is not just an ugly green stain you can easily scrub off on a Saturday morning. That trapped moisture actually breaks down the protective coatings, weakens the threads, and destroys the fibers. And before long, the material rots right through. The good news is that the fix requires zero tools. The absolute best way to prevent awning damage is simple patience. If the fabric gets wet, just leave it fully extended until the sun comes out and bakes the moisture away. If heavy winds force you to retract it during a severe storm, that is perfectly fine. Just make a mental note to unroll it the very next morning so it can air out completely. Mistake #2: Leaving It Open in Wind and Storms You might love a brisk afternoon breeze, but your patio shade? Definitely not.  Leaving the fabric extended when wind speeds climb over 20 to 25 mph is exactly what shortens awning lifespan faster than anything else. Your setup is designed to block the sun, not act as a giant sail. Those strong gusts put immense structural stress on the entire unit, frequently resulting in permanently bent arms and expensive ripped fabric. If you want to maintain a perfect awning condition year after year, you have to know when to pack it in. Here are the best habits to keep your shade safe when the weather turns angry: Relying on a smart sensor is arguably the easiest way to prevent awning damage without constantly playing meteorologist. Just remember that technology can sometimes lose power or get dirty, so maybe keep a watchful eye on the sky. Mistake #3: Using the Wrong Cleaning Methods You look up one weekend and notice a thick layer of pollen, bird droppings, and mystery grime on your patio shade. Your first thought? Fire up the pressure washer or grab the strongest bottle of bleach under the sink. It makes sense in theory, but blasting your fabric with high pressure or harsh chemicals is a sure way to disaster What started as an innocent attempt at regular awning maintenance can quickly turn into an expensive call for awning repair. You are not trying to blast peeling paint off a driveway; you are washing a specially treated outdoor textile. Treating it like a concrete sidewalk will leave you with a faded, leaky mess before the summer even ends. Proper awning cleaning is actually a lot less dramatic and requires far less machinery. Here is the foolproof way to keep your fabric looking brand new without ruining the material: Mistake #4: Skipping Regular Maintenance You finally got that gorgeous shade installed, and it works perfectly. So perfectly, in fact, that you completely forget about the hardware holding it together. It is easy to assume that once it goes up, your job is done. But ignoring the quiet squeaks, the slightly loose bolts, or that tiny frayed edge on the fabric is a guaranteed way to accelerate awning wear and tear. Small issues do not fix themselves; they just invite bigger, more expensive problems. A loose bracket forces the motor to work harder, while a tiny tear in the fabric turns into a massive rip during the next windy afternoon. Skipping basic awning maintenance is what turns cheap, five-minute fixes into total system failures that will cost you hundreds of dollars. You do not need a degree in engineering to prevent awning damage. Just add a quick visual inspection to your seasonal yard chores: Mistake #5: Ignoring Water Pooling and Poor Pitch Imagine sitting under your shade during a light summer drizzle, only to watch a mini-lake forming right above your head. That sagging belly of water happens because of a bad “pitch.” In simple terms, pitch is just the downward angle of your fabric. If the setup is too flat, water forgets gravity exists and decides to hang out on your canvas instead of rolling off the edge. Letting that
Read More →
What is the Best Time of Year to Clean Your Awning (For Longest Lifespan)

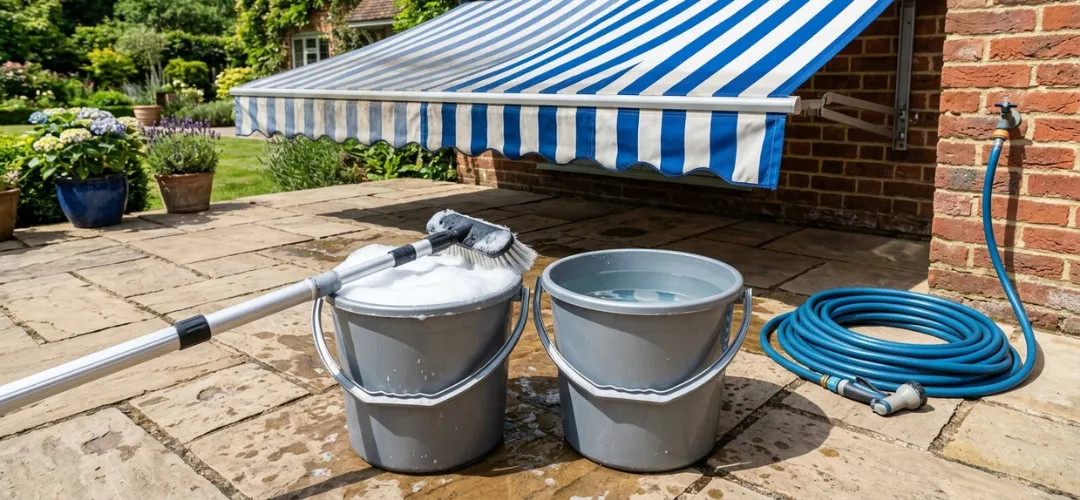
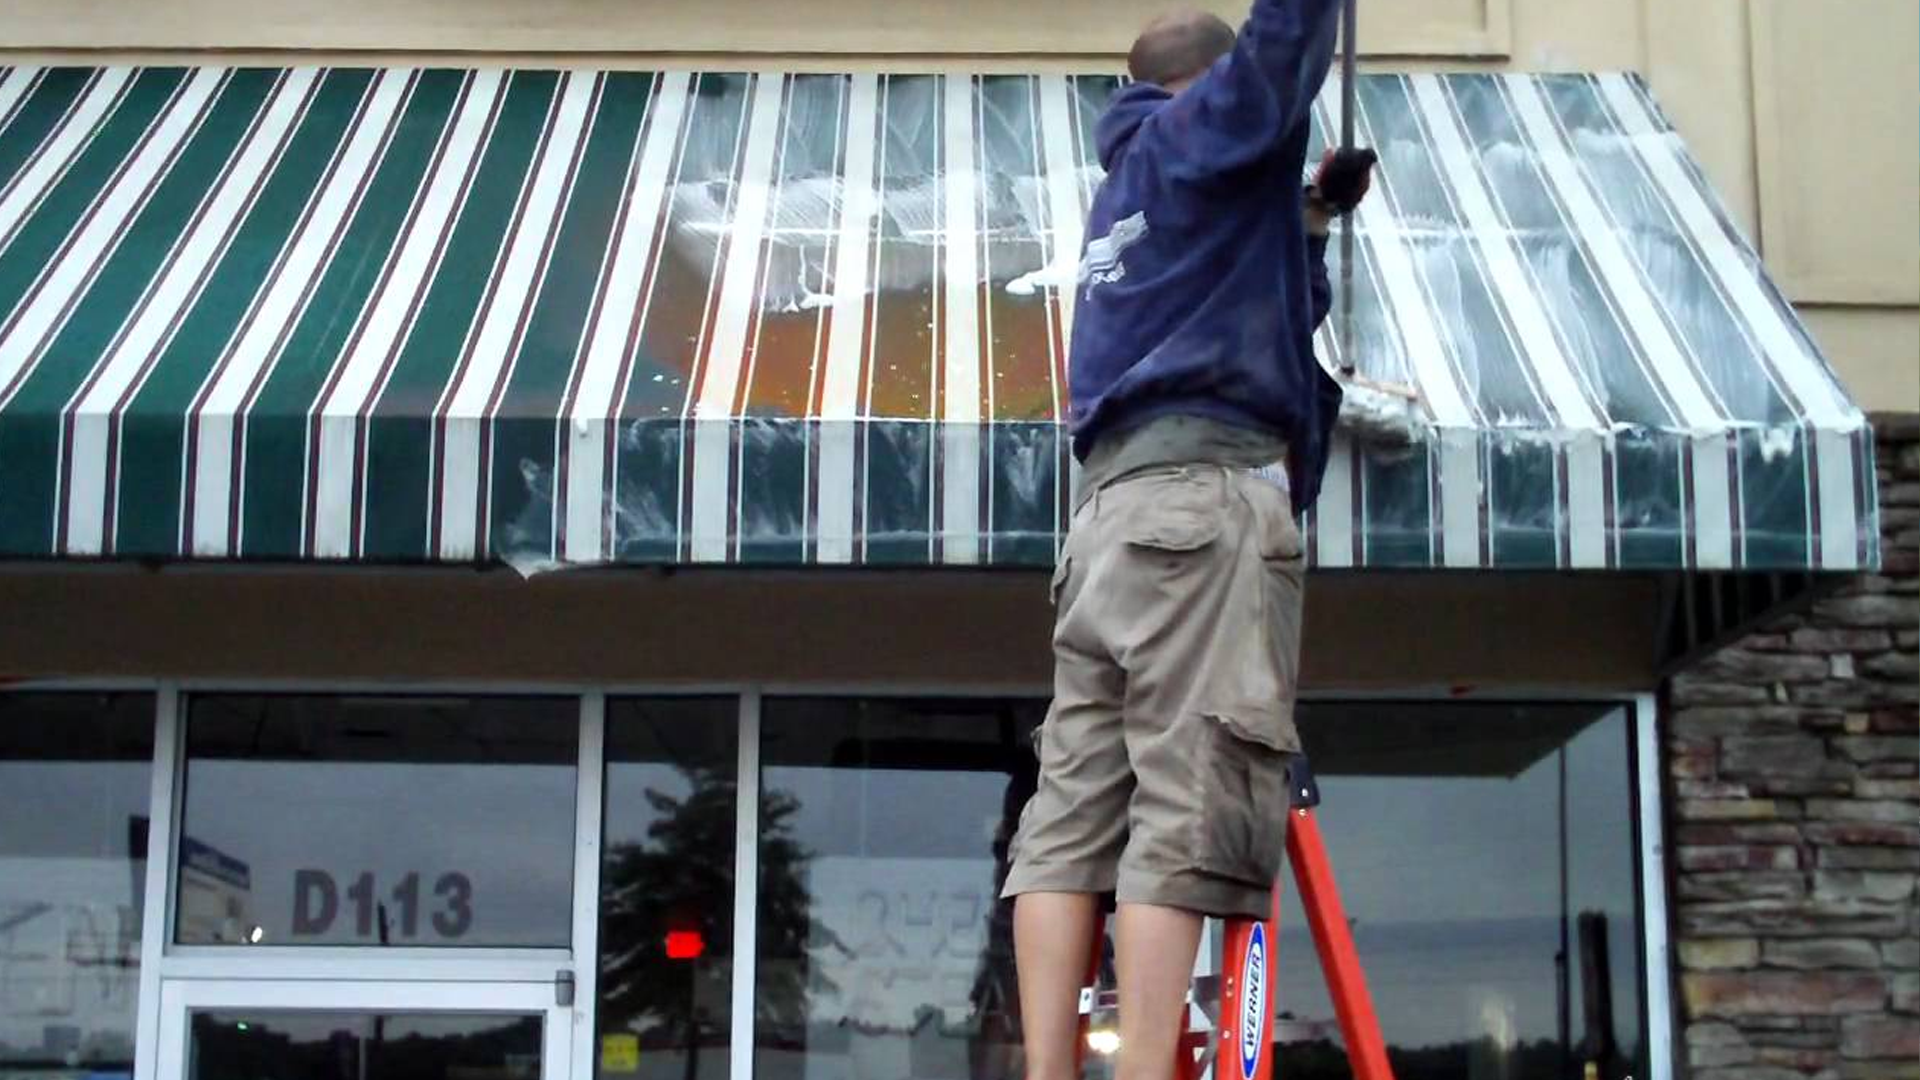
You glance up at your awning and see greenish spots near the edges and dark streaks across the fabric. It clearly needs attention, but a question stops you cold. Is now the right time to clean your awning, or will you end up doing more harm than good by scrubbing at the wrong moment? The truth is that cleaning at the wrong time of year can actually damage your awning instead of helping it. Scrub on a blazing hot day and the soap dries before you can rinse it properly. Clean right before winter and trapped moisture turns into mold that eats through the fabric. That is why a simple awning cleaning schedule is so important. So what is the best thing to clean an awning and when should you actually do it? The answer is two seasons per year, spring and fall. That simple rhythm keeps your fabric looking good and your awning maintenance costs low. The Best Time of Year – Spring and Fall (And Why) The question of the best time of year to clean fabric awnings has a simple answer. Twice annually, once in spring and once in fall. These two seasons offer the perfect balance of weather conditions and practical timing for seasonal awning care. Spring Awning Cleaning Spring cleaning is your fresh start. After months of winter moisture, snow, and freezing temperatures, your awning needs attention. A thorough spring cleaning removes the grime that accumulated while your awning was stored or rarely used. It also prepares the fabric for the harsh summer sun ahead, giving you a clean surface that reflects UV rays better and resists heat damage. Fall Awning Cleaning Fall cleaning is equally important. Summer brings pollen, bird droppings, tree sap, and dust that all embed themselves into the fabric over months of use. If you roll up your awning for winter without cleaning it first, all that organic material gets trapped inside. Trapped moisture leads to mold, and mold destroys fabric. A fall cleaning removes summer debris before winter storage, which directly helps extend awning lifespan by years. Should You Clean Awnings in Summer or Winter Here is a question that pops up every year. Can you clean awnings in winter? Or should you wait for summer heat to help things dry faster? The short answer is neither is ideal, but sometimes you have to work with what you have. Cleaning Your Awning in Summer Summer heat sounds helpful until you try it. Soap dries onto the fabric before you can rinse it off, leaving white streaks that look worse than the dirt you started with. And standing on a ladder in July heat scrubbing fabric? Not exactly fun. Winter brings its own problems. Cold water does not clean as well, and if temperatures drop below freezing, that water turns to ice inside your fabric seams. Ice expands. Seams split. Cleaning Your Awning in Winter Can you clean awnings in winter? Yes, but only on dry days when the temperature is above freezing. Pick a sunny afternoon, use lukewarm water, and make absolutely sure the fabric dries completely before you roll it up. If you cannot guarantee that, wait for spring. Afterall, a little dirt is better than a frozen, cracked awning. What You Need to Clean Your Awning the Right Way Before you start scrubbing, grab the right tools. Using the wrong stuff is the fastest way to ruin good fabric. What you will need What can I use to clean awnings? The safest answer is mild dish soap mixed with lukewarm water. That is it. No bleach, no degreasers, no heavy detergents. Those strip away the waterproof coating and fade the color. Since you know what you should use, it is equally important to know the other way around. Here is what you should never use.  Awning cleaning products that are actually safe include specialty fabric cleaners from brands like Sunbrella or 303. They cost more than dish soap but come with specific instructions for your fabric type. If you have an expensive awning, spend the extra few dollars. Step-by-Step – How to Clean Your Awning for Maximum Lifespan Now for the part you actually need. A simple, repeatable process that gets the job done without wrecking your fabric. Step 1: Brush off loose dirt Before any water touches your awning, sweep off leaves, twigs, bird droppings, and loose dust. A soft broom or a dry soft bristle brush works fine. Skipping this step turns loose dirt into wet mud that smears everywhere. Step 2: Hose it down Use a garden hose with a spray nozzle. Start from the top and work your way down. Wet the entire surface thoroughly. This loosens stuck-on grime before you start scrubbing. Step 3: Mix your cleaning solution Fill a bucket with lukewarm water and add a few drops of mild dish soap. That is it. No measuring cups, no complicated ratios. Just soapy water. Step 4: Scrub gently Dip your soft bristle brush into the soapy water and start scrubbing from the bottom up. Yes, bottom to top. This keeps dirty water from running down onto clean sections you already did. Use light pressure, let the soap do the work. Step 5: Rinse thoroughly Switch back to the hose and rinse from the top down. Make sure every bit of soap is gone. Leftover soap attracts dirt and leaves streaks. Step 6: Let it dry completely This is the step everyone messes up. Do not roll up your awning until the fabric is bone dry. Wet fabric rolled up grows mold. Mold ruins fabric. Wait a few hours, or come back the next day. Patience here saves you from replacing the whole thing. Awning cleaning tips that actually work come down to one rule. Never rush the drying step. Seasonal Awning Care Beyond Cleaning A clean awning is great. But awning cleaning and maintenance goes beyond just washing the fabric. What you do between cleanings matters just as much. Signs your

Read More →
Fix or Replace Your Awning? How to Decide in Under 5 Minutes

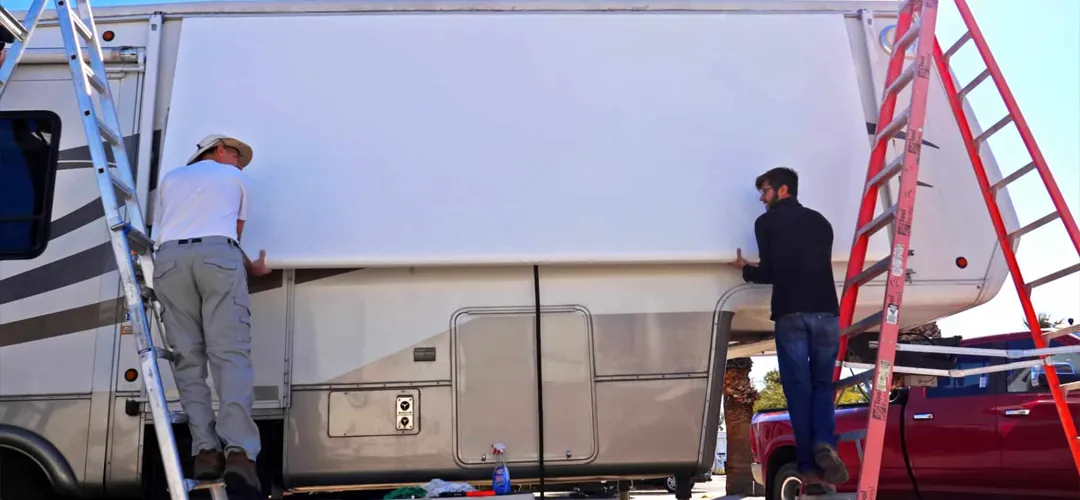
You step onto your patio, look up, and see a sagging canopy. Suddenly, the awning repair vs replacement debate begins. If you are wondering how to decide between fixing or replacing an old awning, you are not alone. Nobody wants to spend money on installing a new awning if a quick patch will do the trick. Throwing cash at a frame that is rusting away is just as frustrating. The good news is you do not need to be an expert to make the right call. In this guide, we will walk through a simple five minute checklist to help you figure out exactly what your outdoor space actually needs. The 5 Minute Awning Damage Assessment Before you pull out your wallet, let us take a quick look at what is actually going on above your patio. A proper awning damage assessment does not take hours. In fact, you can figure out your next move before your morning coffee gets cold. Grab a timer. Here is your four step checklist to confidently decide your best course of action. 1 Minute: The Fabric Check Start by looking up. The canvas takes the biggest beating from the sun, rain, and occasional bird. Spotting the early signs of awning damage is usually as simple as checking for faded spots, brittle edges, or tiny holes. If you just have a small tear or some mild fading, repairing an awning fabric is a quick and budget friendly fix. However, if the material feels like a dry leaf ready to crumble, you are looking at a bigger issue. 1 Minute: The Frame and Hardware Check Now look at the bones of the structure. A sturdy frame can last for decades, but rust and bent arms? They tell a different story. If you are wondering how much damage is too much for awning repair, the frame is usually your answer. A loose screw just needs tightening. But a cracked bracket or a heavily rusted mounting bar are clear signs your awning is beyond repair. A compromised structure is a safety hazard, and patching it up will only delay the inevitable. 1 Minute: The Operation Check If you have a retractable model, grab the remote or the crank handle. Roll it all the way out and pull it back in. Are you wondering how to know if awning needs repair or replacement during this step? Listen closely. A smooth, quiet glide means everything is fine. Grinding noises, stuttering motors, or a system that gets stuck halfway are warning signs. A minor motor glitch might just need a basic awning repair, but complete mechanical failure usually means a full awning replacement makes more sense. 2 Minutes: The 50 Percent Rule and Age Test This is where we do some quick math. People always ask is it cheaper to repair or replace an awning, and the industry relies on a simple guideline. Compare the estimated cost to fix awning against the cost to replace awning. If your quoted awning repair cost is more than half of the total awning replacement cost, do not waste your money on the patch job. You will want to know when is awning repair not worth it, and crossing that fifty percent threshold is the exact moment. Age also plays a massive role here. You might also be wondering what is the average lifespan of an awning to gauge your current setup. Typically, a well maintained unit has an awning lifespan of eight to fifteen years. Knowing exactly when to replace awning comes down to combining that age with the fifty percent rule. If your setup is older than a decade and the motor is dying, replacing an awning is the smartest investment you can make for your home. Signs Your Awning Needs Repair or Replacement Let us get into the nitty gritty details. You did the five minute assessment, but maybe you are still sitting on the fence regarding the great awning repair vs replacement debate. Do not worry at all. We have broken down the exact symptoms to look for so you know precisely which path to take without second guessing yourself. When to Repair Sometimes your favorite outdoor shade provider just needs a little extra care. You do not need to throw the entire structure away just because it looks a bit tired after a long summer. If a rogue tree branch poked a small hole in your canvas, a simple patch job will save the day. Small rips and tiny holes are incredibly easy to fix and will not drain your wallet. Sun exposure happens to the best of us. If your awning fabric is just a little dull but still feels strong and flexible, a professional deep clean might restore its former glory. Minor operational hiccups fall into this category too. A wobbly arm, a squeaky joint, or a loose screw is an easy fix that only requires a quick tune up. When to Replace Let us be brutally honest here. Sometimes it is simply time to say goodbye. Hanging onto a broken setup will only cause you more headaches and cost you more money down the road. If your canvas feels like a stale potato chip and crumbles when you touch it, a patch will not hold up to the next rainstorm. You absolutely need new material. Extensive mold that has eaten through the fibers is another giant red flag telling you to start fresh. Major structural damage is where you have to draw the line. Rusted frames, snapped support arms, or heavily warped metal mean the foundation is completely compromised. It becomes a safety risk to your family and your property at this point. Finally, if your motorized system refuses to budge and the parts are older than your car, swapping out the entire unit is the absolute smartest move you can make. Cost Breakdown: Awning Repair vs Replacement Let us talk about everyone’s favorite subject: money. You know what to look for structurally, but how does

Read More →
Deep Awning Cleaning Tips for Mold Free and Brighter Fabric

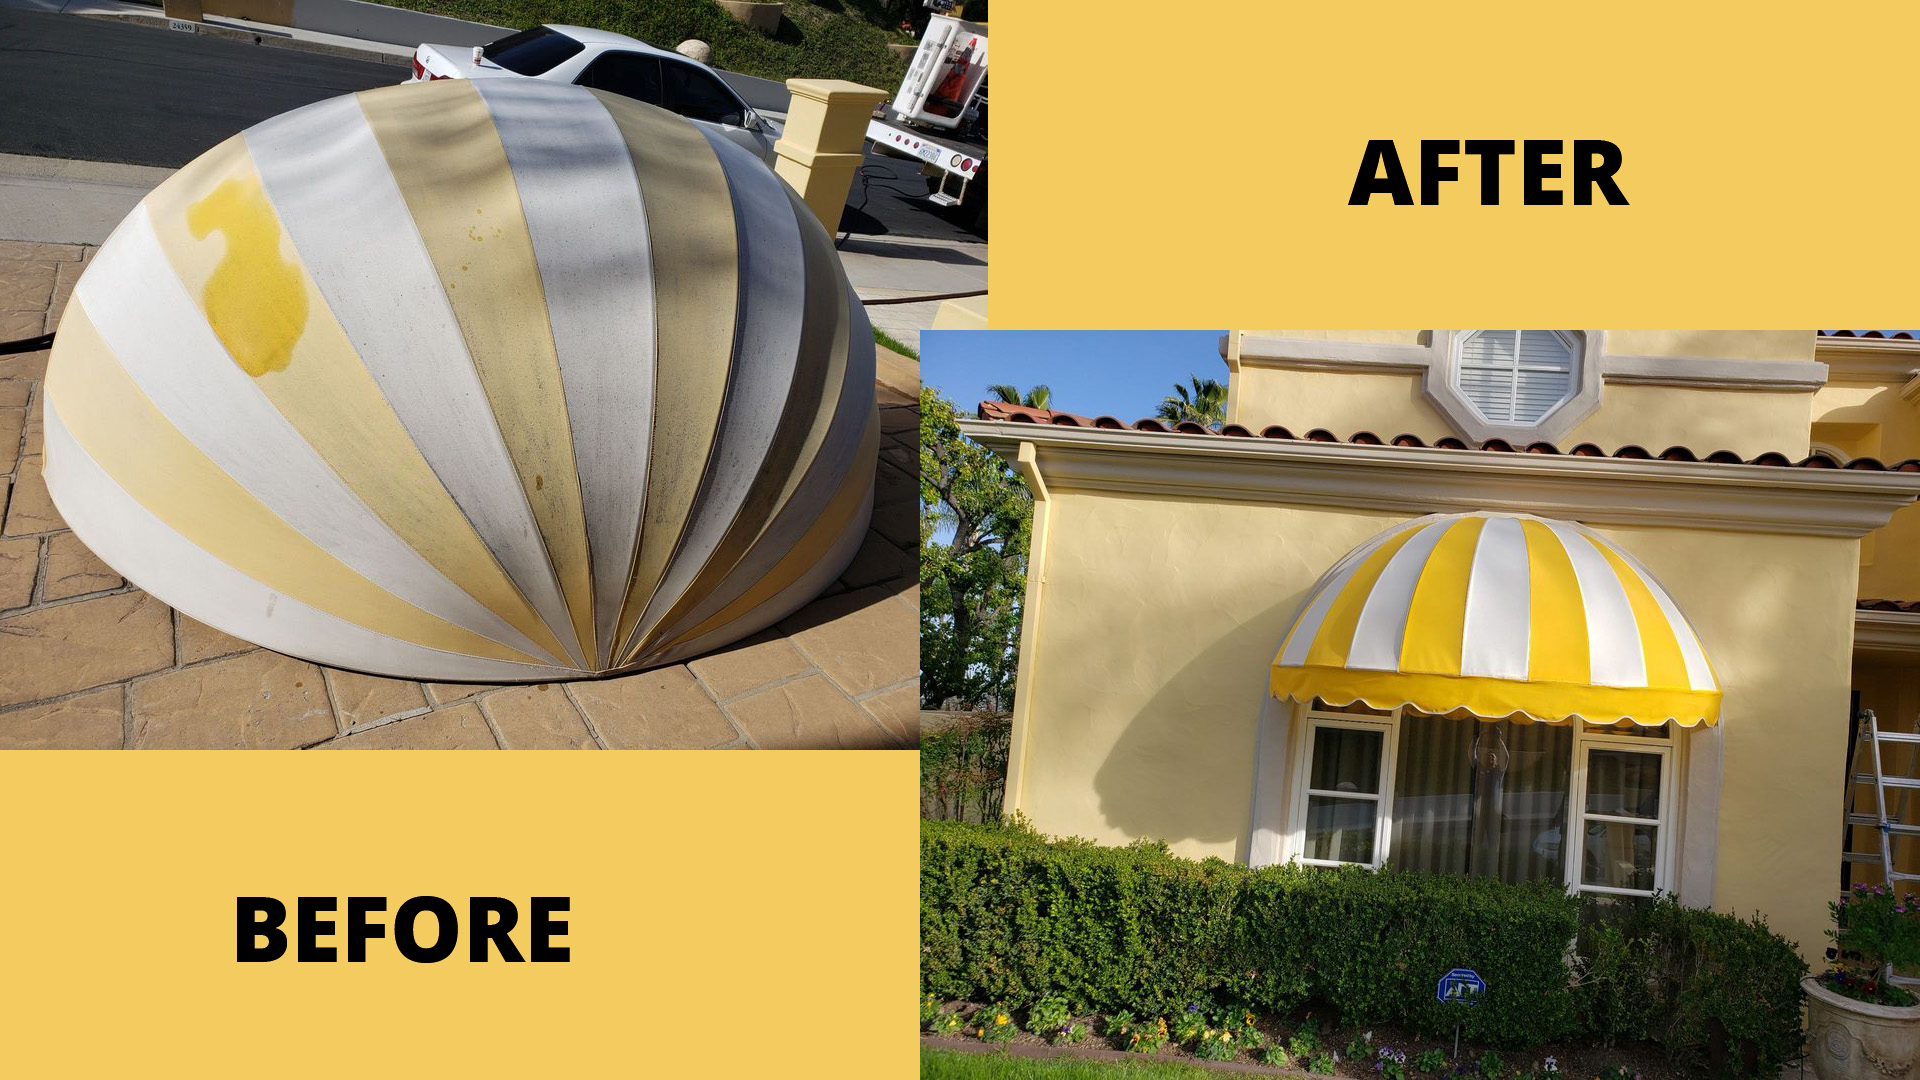
Home Deep awning cleaning does more than remove surface dirt. Clean fabric looks brighter, feels fresher, and also helps protect the structure underneath. Mold and mildew slowly stain the surface, and moisture weakens fibers over time. Because of this, regular deep cleaning becomes one of the best ways to keep fabric healthy and attractive. Outdoor awnings sit through rain, shade, dust, pollen, and constant humidity. Over time, these layers settle in and begin forming dark patches. The fabric loses its original color, and the space under the awning can even start to smell musty. You should stay ahead of this buildup, because early cleaning keeps everything easier and safer to manage. Deep cleaning reaches into the fabric instead of only wiping the surface. Stains lift away more fully, and air begins to flow through the material again. In addition, careful cleaning helps stop mold spores from spreading, so the fabric stays stronger for longer. This guide walks through clear, practical awning cleaning steps that actually work. You will learn how to loosen grime gently, how to wash without damaging the fibers, and how to prevent mold from returning. In the end, the fabric looks brighter, lasts longer, and turns the outdoor area into a cleaner, more pleasant space. 1.Deep Cleaning That Brings Awning Fabric Back To Life Fresh Color Returning After Deep Cleaning Deep cleaning removes layers of dirt, mold film, and stains, and the fabric slowly shows its real color again. You should work gently, because harsh scrubbing can weaken fibers. In addition, deep cleaning helps fabric look newer, so outdoor spaces feel cleaner and more welcoming. Better Fabric Strength With Regular Care Mold and grime slowly damage threads, and they also shorten fabric life. Deep cleaning helps remove these layers, therefore the material stays stronger. You should build cleaning into your routine, since small steps protect the awning for the long term. Healthier Outdoor Space With Cleaner Fabric Dirty awnings can hold musty smells, and they sometimes allow mold spores to spread. Deep cleaning reduces this buildup, so the air around the awning feels fresher. Moreover, the entire area becomes more comfortable to sit under. 2. Common Signs Of Mold And Mildew On Fabric Dark Patches Spreading Across The Surface Mold often appears as dark, uneven patches that keep growing. You should watch areas near seams and shaded corners, because moisture collects there first. In addition, the fabric may start losing brightness as mold expands. Musty Smell Around The Awning Mildew usually brings a strong, damp smell. It becomes noticeable on humid days, and it can linger even after light cleaning. You should take this as an early warning sign, so deeper cleaning can begin sooner. Spots That Keep Returning After Cleaning Light wiping sometimes removes only surface buildup, and the stain slowly returns. This means mold has reached deeper layers. You should move to deeper cleaning methods, because surface wiping alone will not fix the problem. 3. Why Mold Forms On Outdoor Awnings Moisture Staying On Fabric For Too Long Rain, morning dew, and humidity leave moisture sitting on the surface. Mold grows faster in damp areas, and shade keeps the water from drying. You should allow airflow and sunlight whenever possible, so the fabric stays drier. Dirt And Pollen Feeding Mold Growth Dust, pollen, and outdoor grime settle into fabric fibers, and mold uses this buildup like food. In addition, dirt traps moisture, so the surface stays wet longer. You should rinse the awning regularly, because cleaner fabric resists mold better. Lack Of Air Movement Around The Awning Still air creates the perfect environment for mildew. Corners near walls or trees dry more slowly, and moisture stays trapped. You should trim nearby branches and keep space open, so air can move freely and help with drying. 4. Cleaning Prep That Protects Fabric From Damage Good cleaning starts with gentle preparation, and it helps prevent accidental tears or discoloration. Loose dirt should be removed first, so chemicals do not grind into the fabric. You should move slowly at this stage, because careful prep keeps the material safer during deep cleaning. Key points Soft brushing first for safer washing Light rinse that loosens surface grime Test cleaners on a hidden spot first Cover nearby plants to prevent chemical contact Work in shade so cleaners do not dry too fast 5. Tools And Supplies That Make Cleaning Easier Right tools make cleaning smoother, and they also protect the fabric from harsh scrubbing. Simple, gentle items usually work best, because heavy tools can cause damage. You should gather everything before starting, so the process stays calm and organized. Key points Soft bristle brush that cleans without scratching Bucket and mild cleaner for safe washing Garden hose for gentle rinsing Microfiber cloths for finishing touches Soft ladder support for safe reach 6. Gentle Washing Steps For Safer Deep Cleaning Rinse First To Remove Loose Dust Light rinsing helps lift dirt and pollen before scrubbing begins. You should go slow, because strong pressure can push water into seams. In addition, rinsing first keeps cleaning solutions from grinding grit into the fabric. Apply Cleaner With Soft Movements Gentle brushing allows the cleaner to soak into the fibers instead of tearing them. You should move in small circles, and avoid pressing too hard. Moreover, steady motion helps stains release more easily. Give The Cleaner Time To Work Cleaning solutions need a few minutes to lift grime properly. You should allow the product to sit briefly, so stains soften and rise to the surface. In addition, patience reduces the need for aggressive scrubbing. Rinse Thoroughly So No Residue Remains Leftover cleaner can attract dirt later. You should rinse carefully until water runs clear, therefore the fabric stays brighter and feels cleaner longer. 7. Natural Cleaning Solutions That Help Remove Mold Mild Soap Mix For Light Cleaning Simple soap and warm water often handle early mold growth. You should mix gently and avoid heavy suds, because thick foam can be hard to rinse. Moreover, this

Read More →